|
Select monitor and `90s SUBARU cars page For those who love 90's SUBARU cars |

|
| Analysis SSM(JP) | Analysis ECU(JP) | SSM for Win(vivio) | SSM for Win(Legacy) | SSM for Win(WRX) | SSM for Win(SVX) | |
| Cruise Control | Radiator Fan | Tie rod/Tie rod end |
|
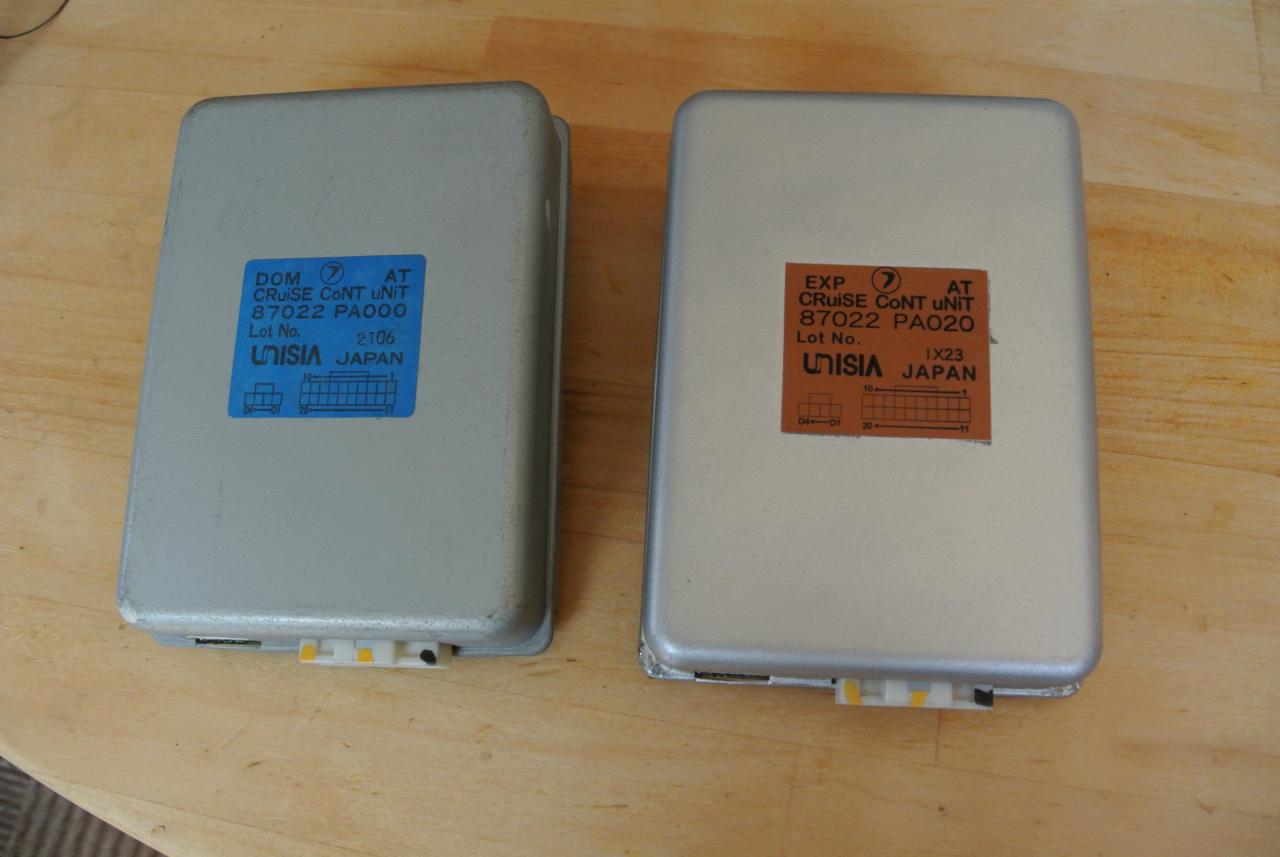
Speed limit by country and cruise control unit Looking at Wikipedia, each countries has different legal speed limit, and there seem to be several types of SVX cruise control accordingly. At the time of the SVX's release, the legal speed limit in Japan was 100km/h, but now it has been changed to 120km/h on some highways, and the setting at that time is outdated. The model number of the cruise control unit installed in the domestic SVX is 87022PA000, and the blue label has DOM (domestic). On the other hand, the 87022PA020 purchased from overseas has a brown label and EXP (export). Also, "Diagnostics and Datalogging for Subaru SVX" has a photo of another unit, part number 87022PA190. It is unknown what specifications British cruise control units have. |
|
|
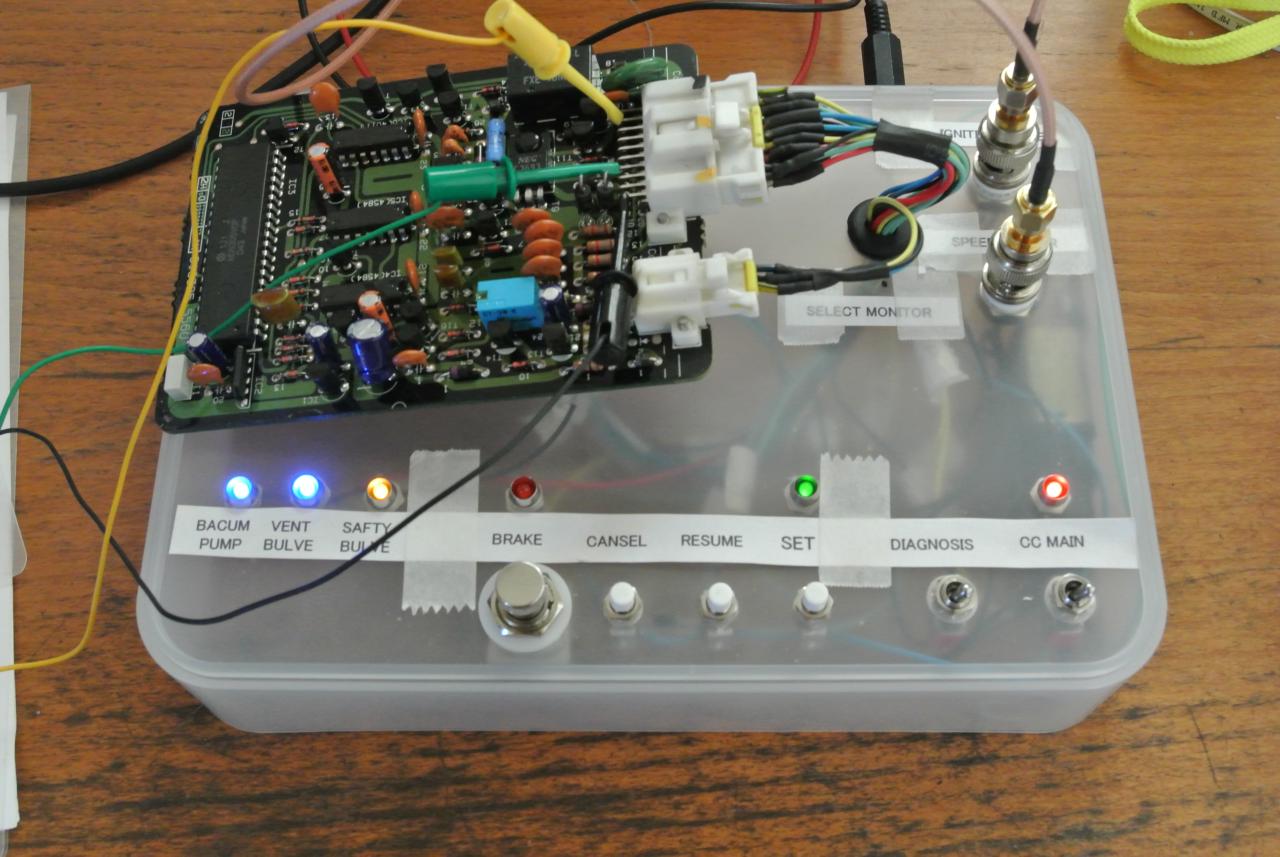
For safety reasons, I used the testbench that I created instead of using actual car and checked it using select monitor software. It seems that the speed can be set the speed at about 40Km/h to 105Km/h for the domestic type unit. On the other hand, the overseas one can be set up to 245Km/h. If the speed is increased further, the speed on select monitor show around 0km/h, so it seems that the speed beyond this cannot be measured in this unit. The 87022PA020 doesn't seem to have a set speed limit. Unfortunately, even if this unit was installed in the domestic SVX, it was not possible to operate even the main switch of cruise control. |
|
Self diagnosis The cruise control unit for domestic specifications has a self-diagnosis function in addition to the diagnostic function by the select monitor. Details are described in the maintenance manual, this function is enabled by connecting diagnostic pin (8 pin) of the B83 connector. It's a black wire with white line. Unfortunately, the overseas 87022PA020 does not support the self-diagnosis function. It is obvious that it is not supported because some electronincs parts on PCB are not mounted. Well, self-diagnosis can check whether various switches pressed or not by blinking the cruise indicator, but there is also a function to check the input from the speed sensor. According to the maintenance manual, it says, "If there is output from the vehicle speed sensor, it lights up, and at 40km/h, it changes to blinking." However, I had a hard time finding out how to make this work. In the end, I needed the following steps:
Cancellation of speed setting restrictions I almost gave up once, but then after examining the circuit of the cruise control unit in detail again, I found a way to remove the set speed limit with the domestic SVX. I won't profess how to do it. The overseas unit, which I initially thought was damaged, was working normally, and there was another reason why it didn't work in the domestic specification car. I have confirmed the operation in the actual vehicle recentry. I am providing this converted unit to domestic users for a fee. I may consider to sell it if there is a request from overseas upon a many requests. |
|
How to replace the cruise control unit The cruise control unit is located behind the glove box. The unit is in a fairly tight area, so if you're not familiar with this kind of work, it's best to leave it to the professionals. I guarantee that the longer you work with your head down, the sicker you get. 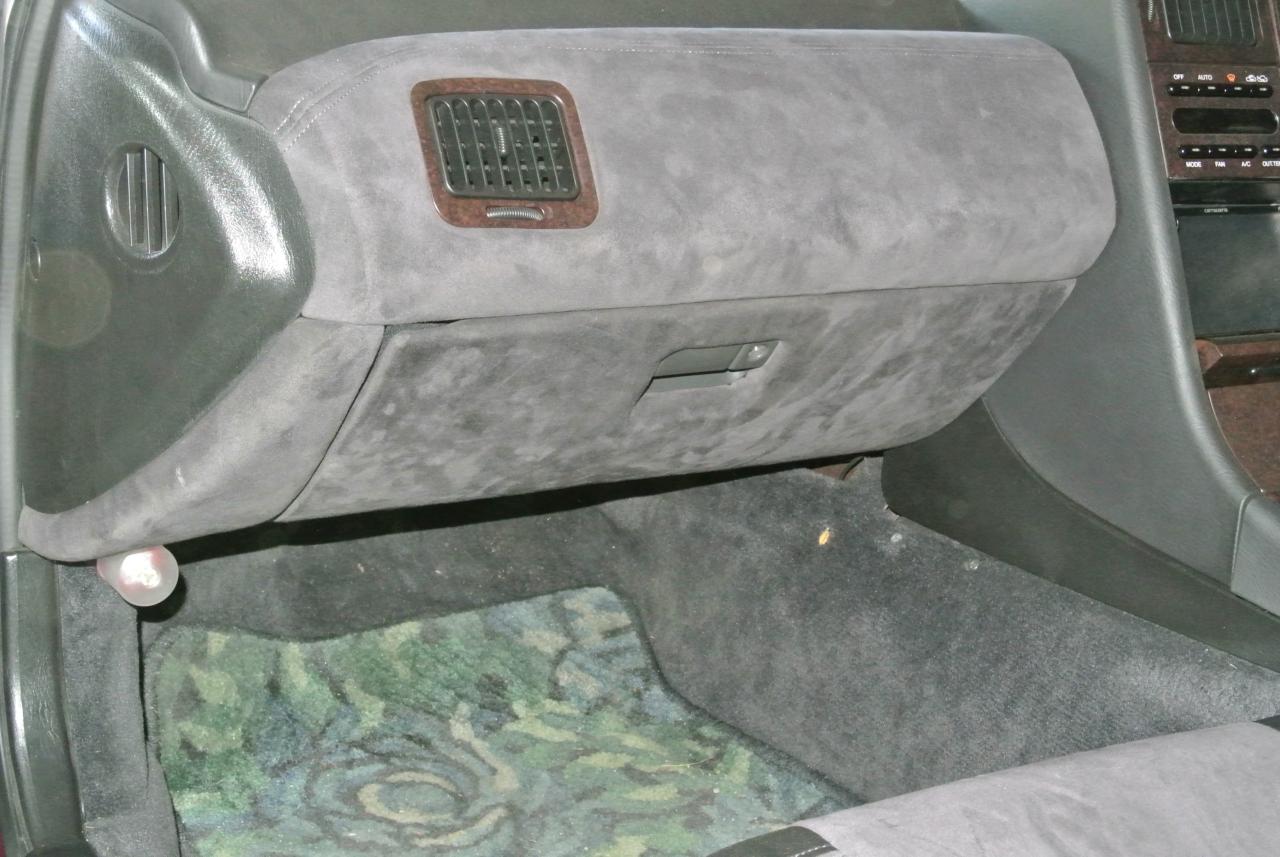 First, disconnect the battery terminals. Always remove the power supply from battery when performing electrical maintenance, even if it is a simple task. 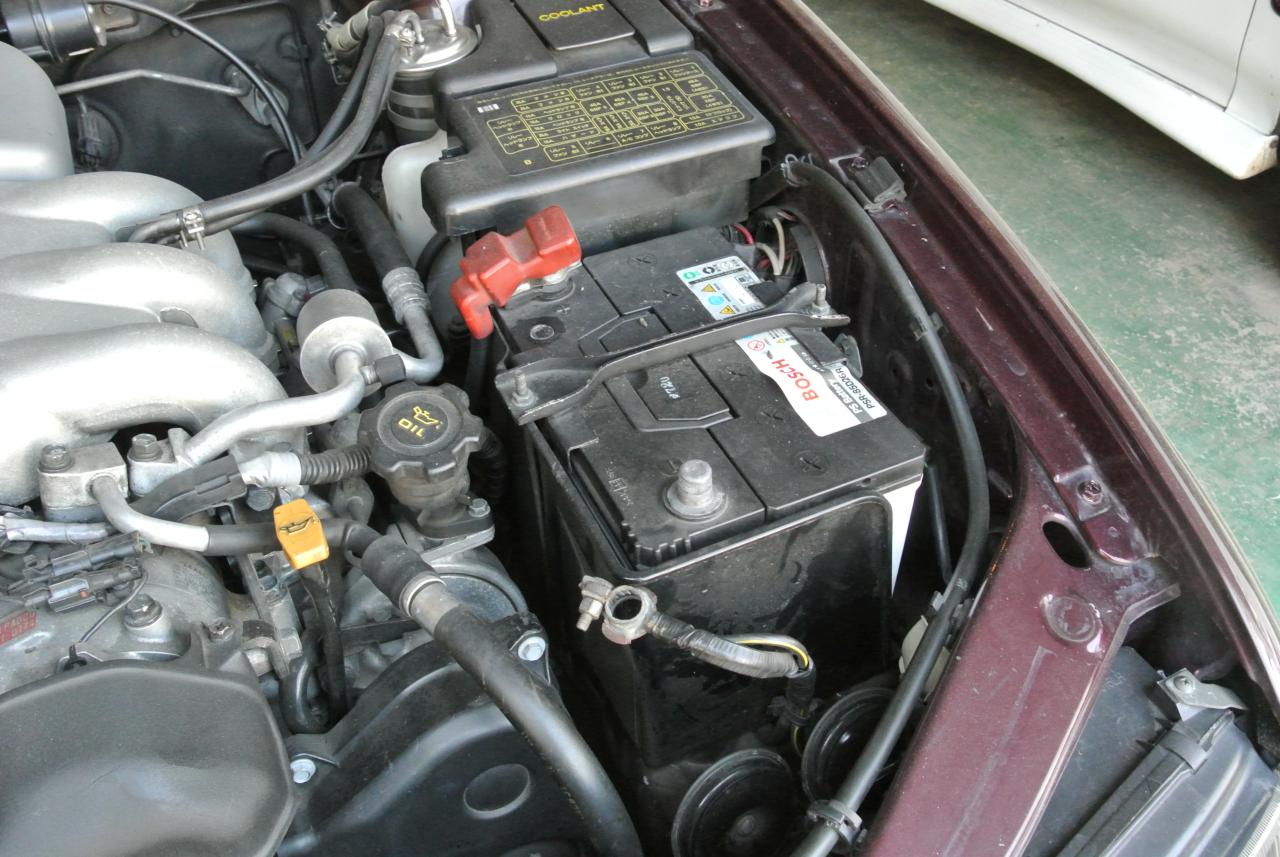 Start by removing the glove box. After removing the contents in that, open the door and remove the lower side (door side) of the left arm. Since it is caught by a fook, it can be removed by floating it and sliding it. The right arm is only hooked by the upper edge, so you can remove the lower one without removing it. 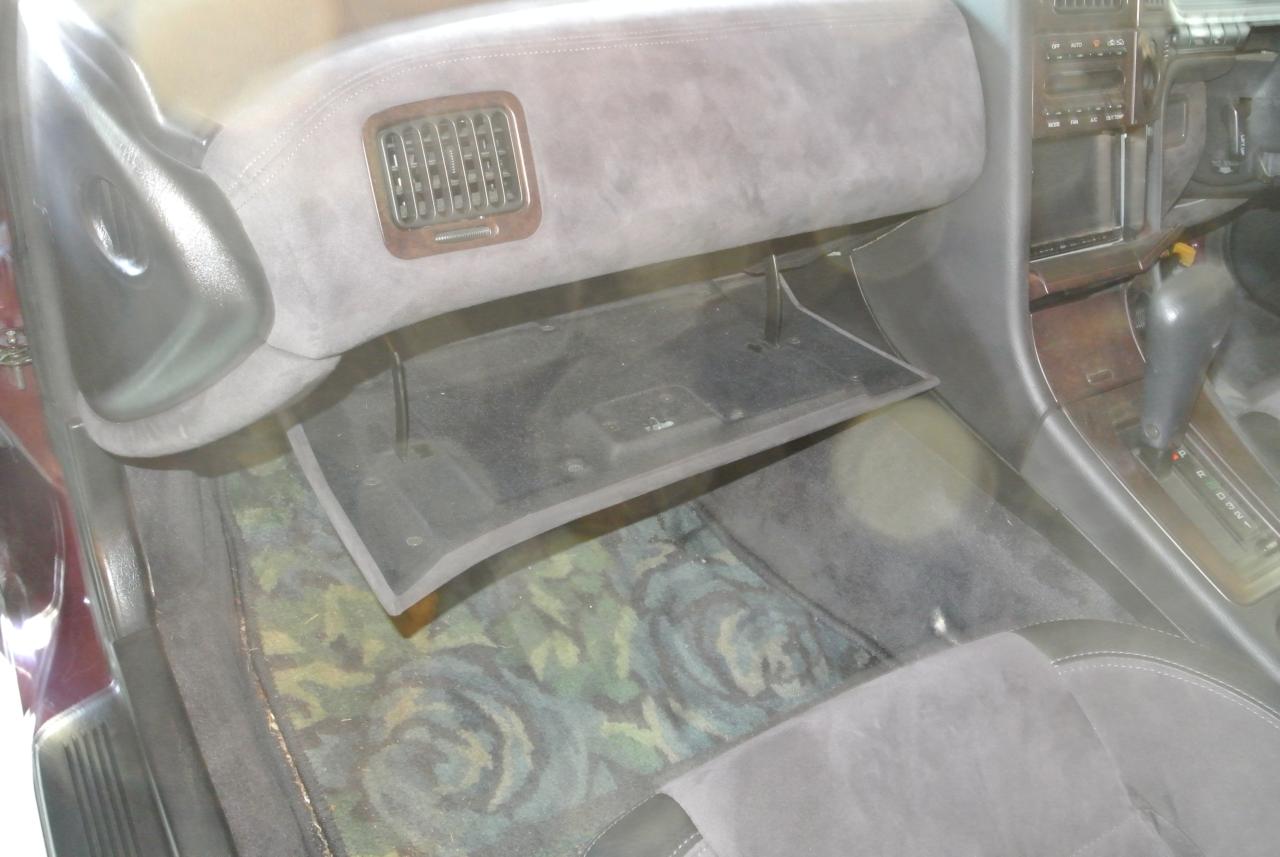 Once the arm is removed, the door can be removed by removing the three screw on the hinge. The screw in the middle is also fixed the footlight. 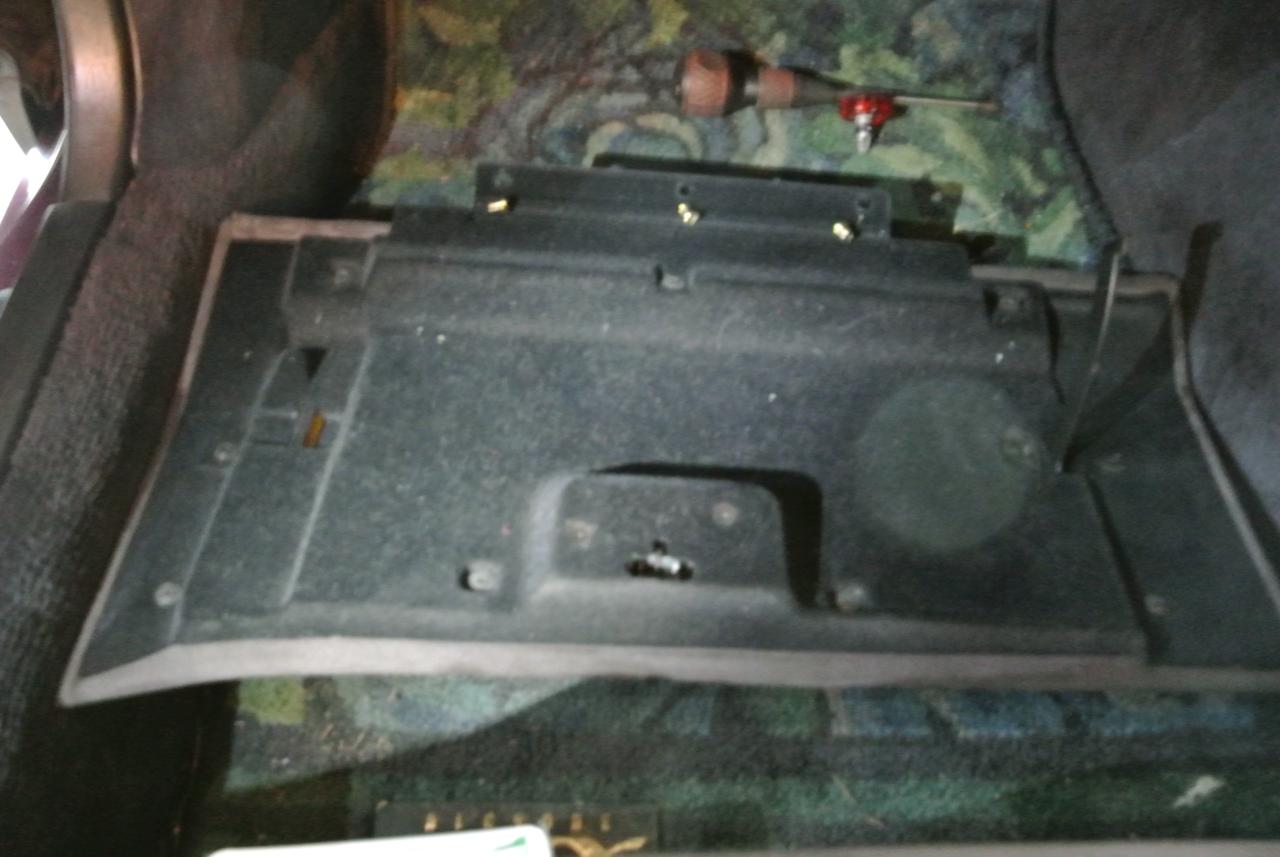 Once the door is off, it will be easier to access the screws that hold the glovebox lining. There are two screws on the each left and right, and three on the top and bottom. The left and right screws are long, and the top and bottom are short, so keep them in a separetery . Once the screws are removed, remove the five M6 bolts (10mm). 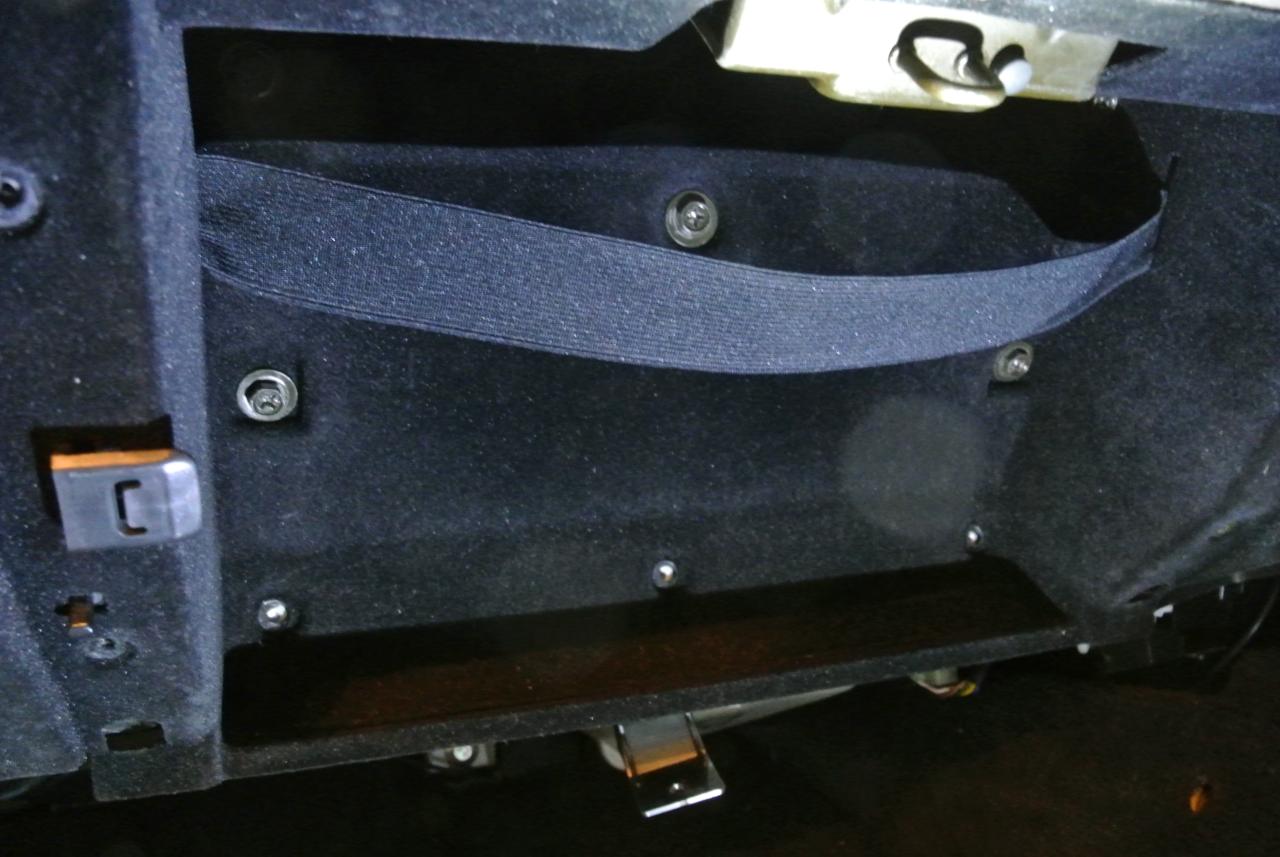 There is a stay on the underside of the lining. The stay is fixed with two screws on the left and right. You can remove it by removing the screw and disconnecting the wiring of the footlight with the connector. 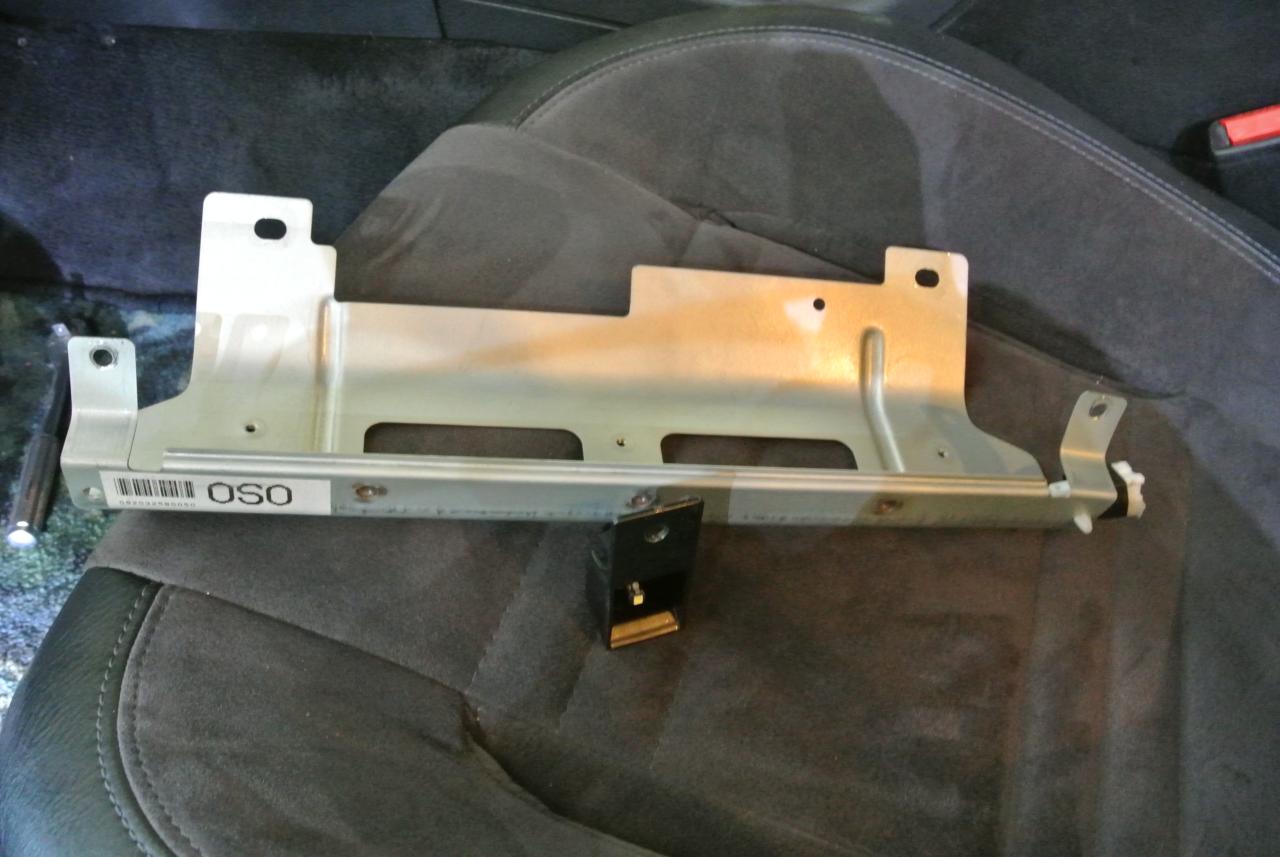 After you remove all the screws and the lining will come off. Be careful because the left and right edge are hooked. 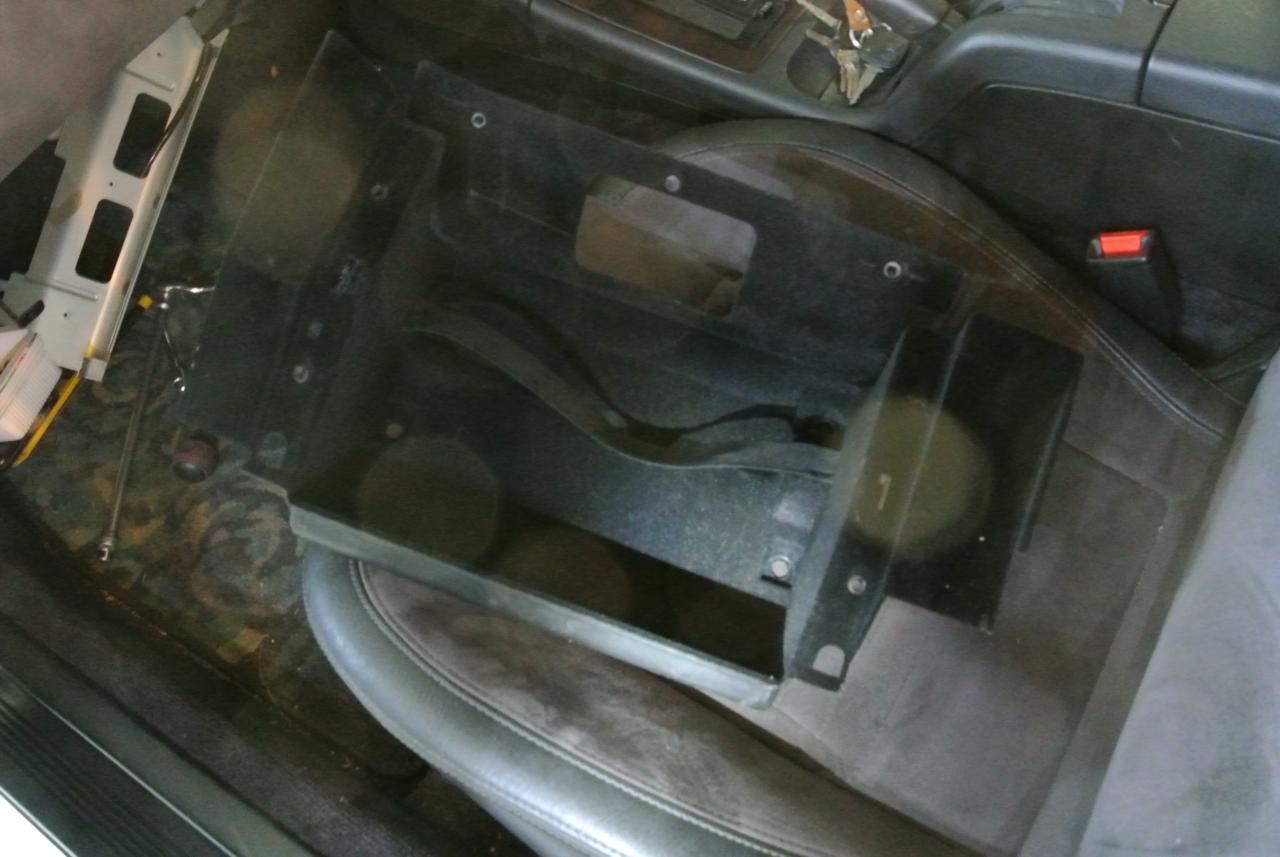 After removing the lining, you can finally see the cruise control unit. but still can't be removed. The stay in front is in the way and I can't pull it out.  The stay is fixed with 4 screws around the glove box door catch. After removing this screw, the unit can finally be pulled out. 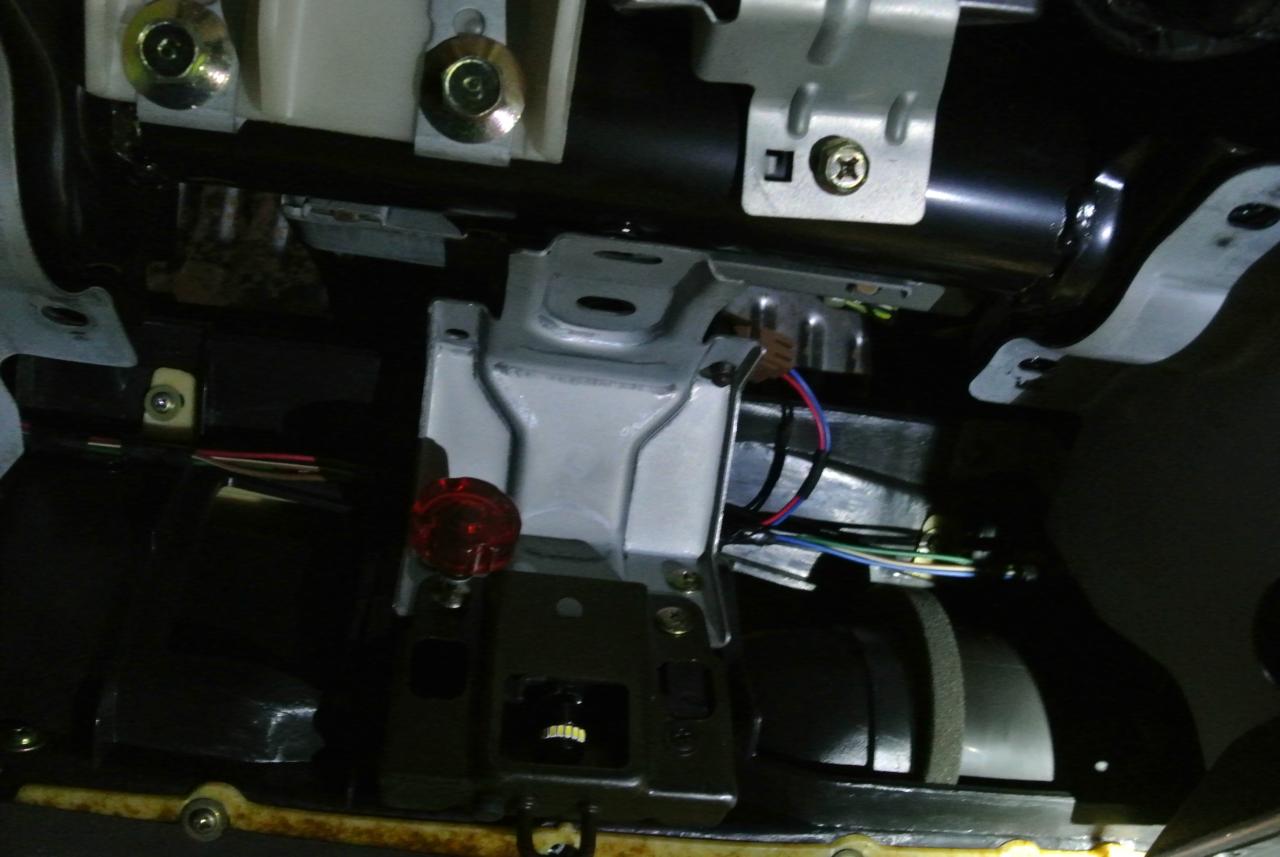 The unit can be pulled by removing two M6 bolts. However, since the harness is short, you will pull it out only half of it.  Now remove the #3 Phillips screw that holds the relay. It's pretty tight. Once you remove the relay, you can pull it out further, so stick your hand inside and push the hook of the connector to remove the connector. There are one 22pin connector and one 4pin connector. 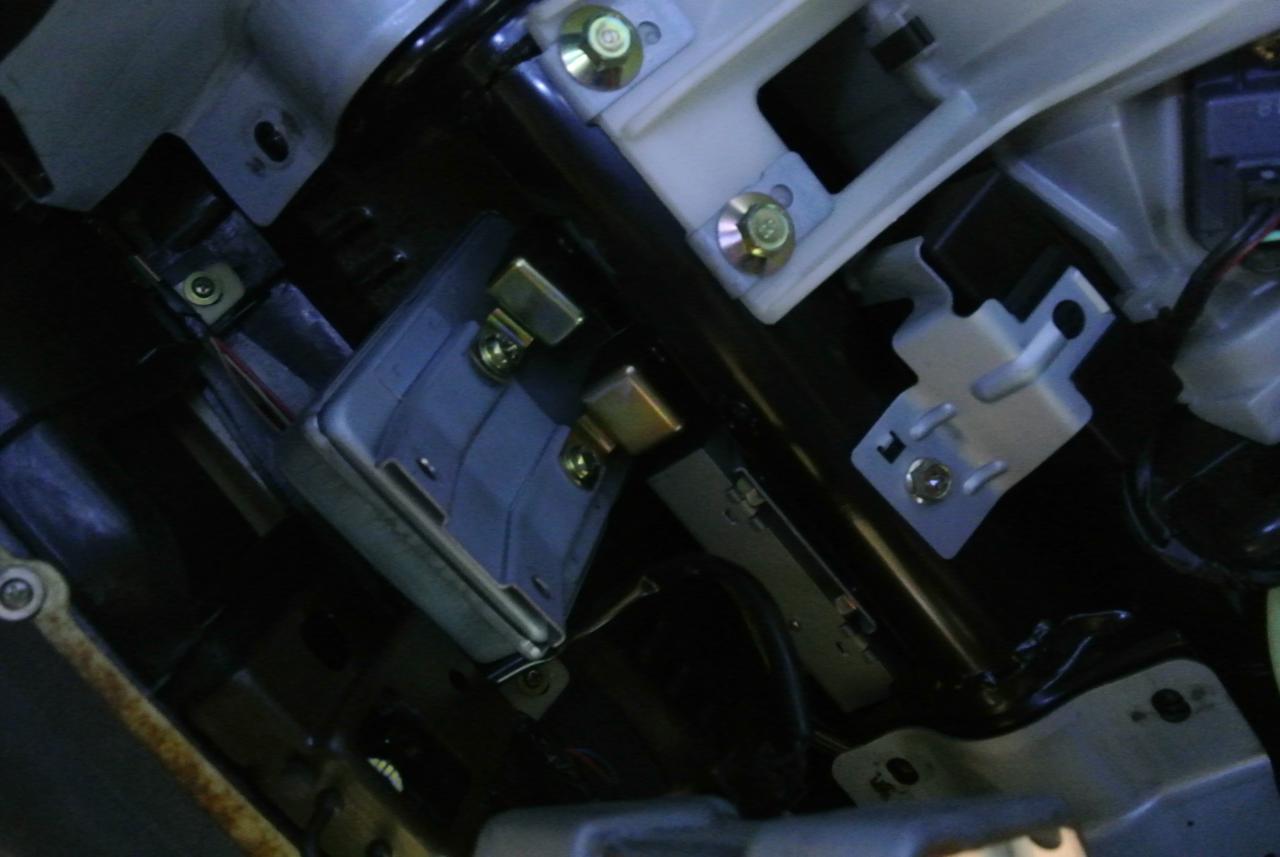 The unit has now been removed. You can do the installation in reverse order, but if the lining and stays are not in the correct position, it will be difficult to insert all the screws. Do not tighten all at once, temporarily tighten and confirm that all screws are inserted before final tightening. Also, before assembling the lining, it is recommended to attach the battery terminal once, turn on the engine key (not need to start engine), and press the main switch of the cruise control to confirm that the power is turned on. Taking it apart again is a pain. |
|
Sales of control units without speed restrictions I am providing no speed restriction cruise control units that can be used with JDM SVX. I learned that there are some overseas people own JDM SVX. They want this modified unit and I am considering supplying it. If you want it too, please contact me directly at this email address.  Unlike today's ECU systems, it is not possible to set cables, write a new program, and finish. It is necessary to disassemble and change. The work requires specialized knowledge and takes time. In addition, the cruise control can works when it uses together with peripheral parts such as the negative pressure pump and the sub-accelerator wire. unit will not work only it. 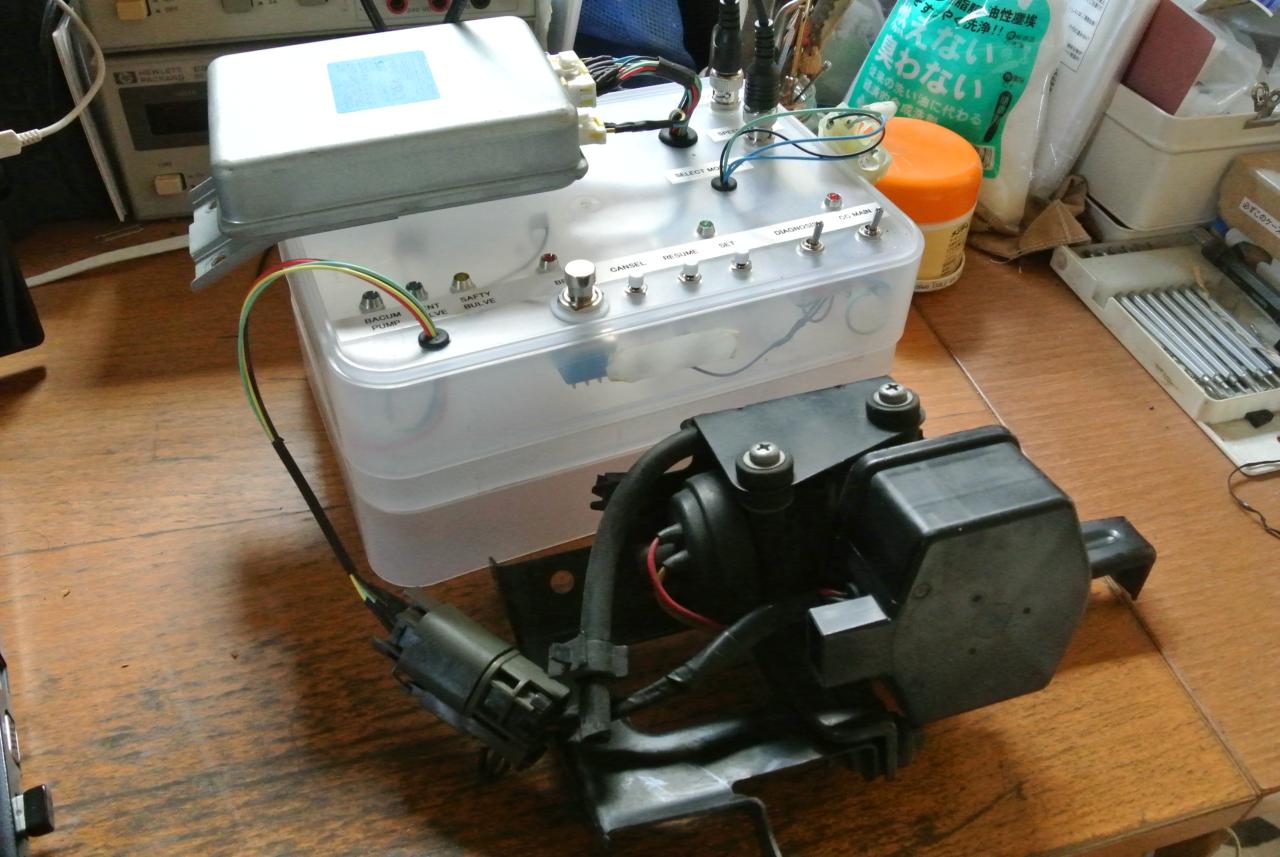 |
|
|
|||